
Security is not a one-size-fits all solution, it requires a customized, multi-layered approach with continuous monitoring.
The core principles of cybersecurity are Confidentiality, Integrity, and Availability.
- Confidentiality: sensitive data is protected from unauthorized users
- Integrity: sensitive data remains accurate and complete
- Availability: sensitive data can be accessed by its intended users
Achieving these security best practices depend upon the assets and services being protected, the constraints, level of compliance, and risk tolerances of the company. As such, IT security policies can vary greatly from one environment to the next.
Securing Azure resources can be broken down into these major disciplines:
- Identity access management (IAM)
- Data security
- Endpoint security
- Network security
- Monitoring
- Compliance
- DevSecOps (CI/CD, pipeline, automation, and supply chain security)
- Kubernetes
In this article we will introduce a checklist for Azure cloud security best practices.
Quick start
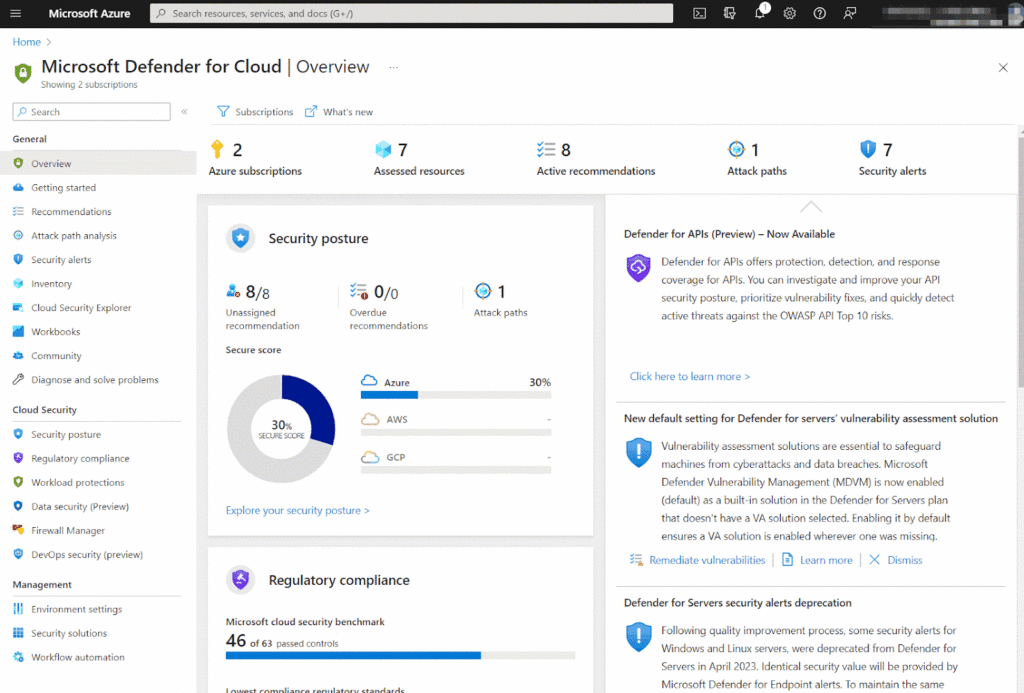
Microsoft Defender for Cloud (prev. Azure Security Center) offers a central location to manage security tooling and reports. It provides the controls you need to get started on your security roadmap, but it is not an all-in-one solution. To access Microsoft Defender for Cloud, sign into your account and select Microsoft Defender for Cloud on the left side.
The Center for Internet Security (CIS) provides an excellent framework for securing Azure resources according to industry best practices. The security recommendations are divided into two levels.
Level 1 provides basic security recommendations that should be enforced in most environments.
Level 2 provides advanced recommendations that should be enforced for increased security.
This checklist is a supplemental introduction to your security roadmap and should not serve a standalone IT security policy.
IAM
Level 1
- Restrict access to the Azure AD administration portal
In Azure Active Directory select Users or Groups, then User settings.
Ensure Restrict access to Azure AD administration portal is set to Yes.
- Guests – Remove guest users or limit their permissions
In AD Users, select All Users, and in the Show drop down select Guest Users only to view the guests.
- Passwords – Require two methods for password resets and notify users on reset
In AD Users, select Password reset, Authentication methods, and set Number of methods to 2.
- Reconfirm user authentication methods every 180 days
In AD Users, under Password reset, select Registration, and make sure Number of days before users are asked to reconfirm… set to 180 days.
Level 2
- Enable MFA
In Azure AD Users, select Multi-factor authentication and make sure the status is Enabled for Admins, Owners, or Contributors.
- Block remembering MFA
Under Multi-factor authentication, select users, Manage users settings, and checkmark Restore MFA on all remembered devices.
- Guests – Restrict invitations through administrators only
In AD Users, select User settings, go to External users, Manage external collaboration settings, and set Members/Guests can invite to No.
- Restrict Security Group creation to administrators
In Azure AD, select Groups, go to General settings, and make sure Users can create security groups is set to No.
- Disable self-service group management
In Azure AD, Groups, select General settings, ensure Self-service group management enabled is set to No.
- Disable users from registering apps
In AD Users, go to User settings, make sure User can register applications is set to No.
Security Center
Level 1
- Enable automatic provisioning of monitoring agent
In Security Center select Security Policy and check mark your subscription. Click Install agents.
- Policies – Enable system updates: updates OS
In Security Center, Security Policy, select subscription under Policy Management.
Select Enable Monitoring in Azure Security Center
In Compute and Apps, find the policy “System updates should be installed on your machines” and make sure it’s AuditIfNotExists or Audit.
- Enable security configurations: applies and recommends security hardening rules
In Security Policy, Policy Management, select subscription under Policy Management.
Enable Vulnerabilities in security configuration on your virtual machine scale sets should be remediated
- Enable Endpoint Protection: protects VMs from malware
- Enable Disk Encryption: encrypts data on the disk
- Enable Network Security Groups: allow or denies network traffic
- Enable Web Application Firewall: secures traffic to web applications
- Enable Vulnerability Assessment: performs vulnerability and health monitoring assessments and recommendations
- Enable Storage Encryption: encrypts Azure Blobs and Files
- Enable JIT Network Access: locks down inbound traffic to VMs
- Enable Adaptive Application Controls: whitelists safe applications running on VMs
- Enable SQL Auditing and Threat Detection: identifies malicious behavior on SQL DBs
- Enable SQL Encryption: Enables transparent data encryption on SQL DBs
- Set Security Contact Email and Phone number
Make sure contact info is added in Cost Management + Billing.
- Send emails on Alerts
In Security Center, Pricing & settings, click Email notifications and enable for high severity alerts and subscription owners
Level 2
- Upgrade to a Standard tier
Extends the Security Center to private workloads and other cloud platforms for unified management
Enables advanced threat detection (Azure Defender)
Azure Storage
Level 1
- Require security-enhanced transfers: enables HTTPS on network communications and API transfers
Select your account in Storage Accounts and under Settings select Configuration. Set Secure Transfer required to Enabled.
- Encrypt Files and blob object storage
Under your Storage Account Settings, select Encryption and make sure the storage account is being encrypted.
- Make blob containers private: restricts blob access to authorized users
Select your storage account and go to Containers under BLOB Service. Ensure Public access level is set to Private.
- Regenerate access keys periodically
Under Storage Account, select Activity log. Click Timespan drop down and set it to a 90 day range to see keys being used.
Use Azure Key Vault to regenerate these keys.
- Shared Access Signature tokens – Set a one hour expiration
Select your Storage account and go to Shared access signature. Set the expiration time to one hour after creation.
- Require tokens to be shared only via HTTPS
Under Shared access signature set Allowed protocols to HTTPS only.
Azure SQL Database
Level 1
- Enable auditing: tracks DB events and writes them to an audit log
In SQL Databases, select your DB instance and select Auditing under Security. Make sure Auditing is ON.
- Retain audit logs for more than 90 days
Select Auditing and select Configure under Audit log destination. Set the retention longer than 90 days.
- Enable threat detection: detects malicious activities to the DB
In the DB instance, under Security, click Advanced Data Security and click Enable.
- Retain threat detection logs for more than 90 days
Select Auditing and select Configure under Audit log destination. Set the retention longer than 90 days.
- Enable all threat detection types
- Send security alerts
In the DB instance, select Auditing & Threat Detection, Database settings, View Advanced Data Security server settings, and enable Send Alerts
- Email service and administrators
Select Advanced Data Security, under Advanced Threat Protection Setting select Email service and co-administrators
- Ensure regular automatic database backups
Logging and Monitoring
Level 1
- Stream Activity Log to Event Hub: allows logs to be monitored and archived
In Monitor, select Activity Log and ensure a Log Profile is set. If not, select Export to Event Hub.
- Retain activity logs for 365 days or more
In Activity Log, adjust the Retention slider to 365 days or more.
- Create a log alerts – “Creating a policy assignment”: alerts when policies are created
In Monitor, select Alerts, click + New alert rule. Click on Resource and select Policy from Filter by resource type.
“Creating, updating, or deleting a Network Security Group”: alerts when NSGs are created/updated/deleted
Click + New alert rule. Click on Resource type and select Network security group from Filter by resource type.
“Creating or updating an SQL Server firewall rule”: alerts when SQL network access
Click + New alert rule. Click on Resource type. Select SQL servers from Filter by resource type.
Level 2
- Enable Azure Sentinel
Enable Azure Sentinel for integrated SIEM alerting for security events.
Networking
Level 1
- Restrict RDP and SSH access from the internet: access VMs via VPN, ExpressRoute, or Bastion Host
On your VM, open the Networking pane, restrict RDP(3389)/SSH(22) rules
- Restrict SQL Server access from the internet
Go to SQL Databases, for each server, click on Set server Firewall.
Make sure no rule has a Start IP of 0.0.0.0 and End IP of 0.0.0.0 or any other wide IP range
Allow only trusted IPs to connect
- Restrict web application traffic with Web application firewalls: protects applications from common exploits and vulnerabilities
Enable WAF when you create an Application Gateway.
- Enable Network Watcher: logs inbound and outbound IP traffic
In All servers, select Network Watcher, select Regions, and Enable Network Watcher.
Level 2
- Retain NSG flow logs for longer than 90 days: allows deeper history analysis of traffic
In Networking, select Network Watcher, select NSG flow logs under Logs, ensure retention is greater than 90 days.
Virtual Machines
Level 1
- Enable Auto Provisioning
In Security Center, select Pricing & Settings, click on Data Collection and make sure Auto Provisioning is ON.
- Ensure disks are encrypted
On the Virtual Machine page, go to Settings, select Disks and ensure OS and Data disks have encryption set to Enabled.
- Ensure only approved extensions are installed
On the Virtual Machine page, go to Settings, select Extensions, and evaluate the installed extensions
- Ensure OS updates are applied
In Security Center, open Recommendations under Resource Security Hygiene. Make sure “Apply system updates” is not listed.
- Ensure VMs have an updated and running endpoint protection solution
In Security Center review for Endpoint protection issues in Resource Security Hygiene.
Recommended extension: Microsoft Antimalware for Azure Cloud Services and Virtual Machines
Other
Level 1
- Azure Backup – Ensure regular automated backups
Enable Azure Backup and configure the backup source (Azure VMs, SQL Server, or File Shares), as well as desired frequency and retention period.
- Azure Key Vault – Make sure all keys have an expiration date
In Azure Key Vault, select Key Vaults, click on Keys, and make sure each key has an appropriate EXPIRATION DATE listed
Make sure all secrets have an expiration date
Select Key Vaults, click on Secrets, ensure each secret has an appropriate EXPIRATION DATE listed
Level 2
- Set resource locks on critical resources: can make resources undeletable or readonly
Open the resource, resource group, or subscription and select Settings. Open Locks and click Add. Select CanNotDelete or ReadOnly.
These are general security controls to secure your Azure environment, in the next few articles we will dive deeper into the various disciplines of Azure security.
Learn more about the CIS Azure benchmark.
Read more on Microsoft Security Best Practices.